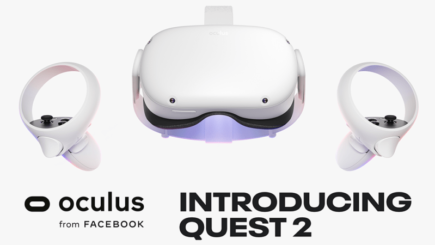
This post will cover how to install Playspace Mover into SteamVR which allows you to move around in your VR place space. For these instructions we will be talking about VRChat and Oculus Quest 2, but the same settings apply to any VR headset that is using SteamVR. How do you crouch, lay down, be prone or fly in VRChat on your Oculus Quest 2? I got you!
PlaySpace Mover is easy and free. We will install PlaySpace mover via the Steam store, install the correct settings to switch the buttons on your controller when you are in SteamVR, and allow you access to these extra neat features(like flying or crouching) by pulling up and down as you climb in VR.
Table of Contents
PlaySpace Mover ONLY works with SteamVR

Before we get started, I need to make clear here that Playspace mover and Open VR Advanced Settings only works with SteamVR applications. Any native Oculus apps, (those installed on your Oculus Quest 2 directly) will NOT work with Playspace Mover at this time…. But fear not, we will do a workaround to get SteamVR working on your Oculus Quest 2 and then Playspace Mover can work once again!
Get Your Oculus Quest 2 Able to Play SteamVR Games
First of all you need your Oculus Quest 2 working with SteamVR. If you have that set up and working already you can skip this step. If not….

– You need either Virtual Desktop installed on your Oculus Quest 2 and get it working with SteamVR on your PC or an OculusLink cable and OculusLink working and installed with Steam VR app. If you are not sure how to do either of those you can check here for Virtual Desktop or here for OculusLink.
How to Install PlaySpace Mover
Because we are using VRChat for this example, Install Steam VRChat and this is the one you will be using for VRChat from now on, not the one on the Quest 2 headset. An added benefit you will be able to use all the PC worlds and avatars.
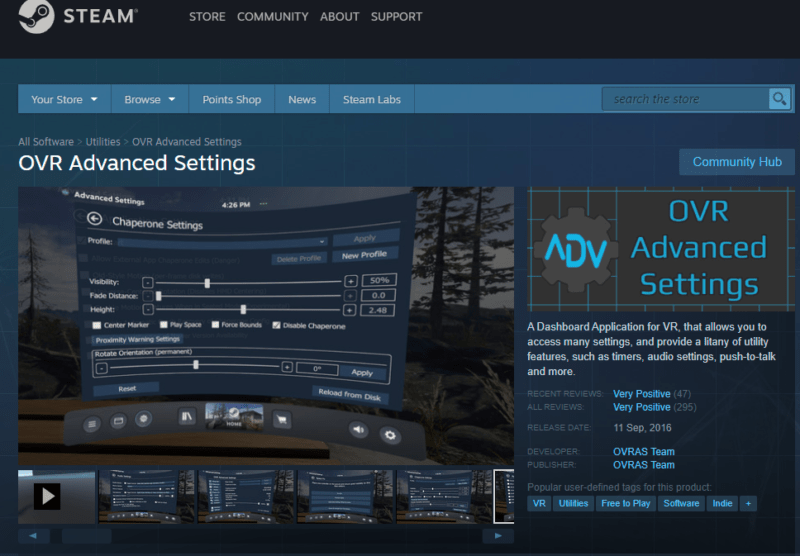
Install Open VR Advanced Settings – Most of you will start here..
- You will need to install OVR Advanced Settings from Steam. This is a free program. So go download and install that. This free app has Play Space Mover built into it.
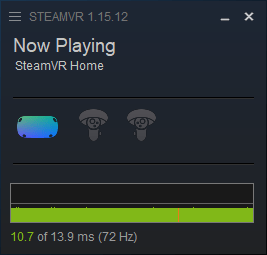
2. Then on your Oculus Quest 2 headset via either Virtual Desktop or OculusLink, Start up SteamVR. Take your headset off. This little window (or similar) should pop up on your computer.
3. Go to your SteamVr Library and Launch OVR Advanced Settings in SteamVR. You can also do all this in VR if you want(the same settings exist in VR), but I’m doing it on your PC since you are likely following these instructions and need to see them.
4. Click the Hamburg menu (the 3 lines in the top left) on the Steam VR tiny Window popup on your PC shown above and select Settings from the drop down.
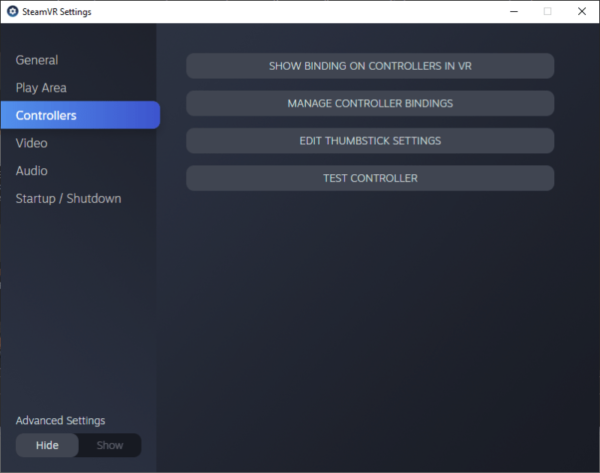
5. Select Controllers and then Slide the slider to Show Advanced Settings at the Bottom.
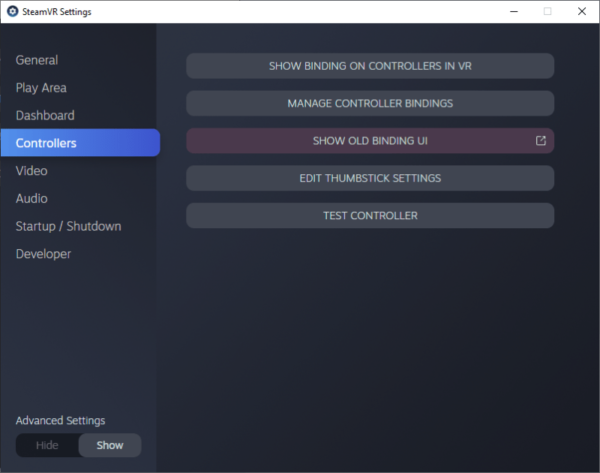
6. Select SHOW OLD BINDING UI. On my screen it is in RED.
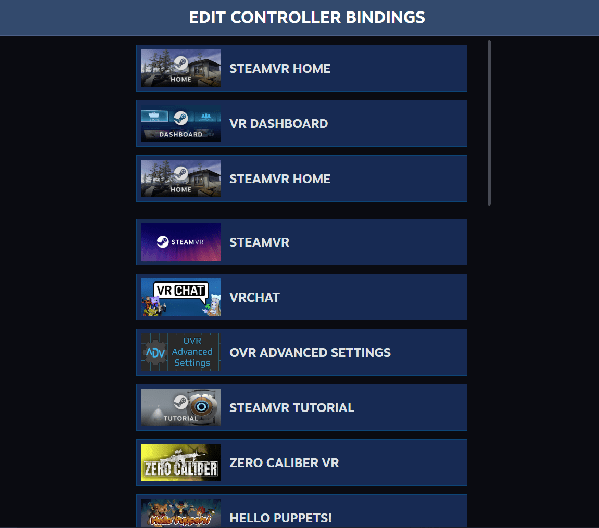
7. Scroll down and select show more if needed, finally select OVR Advanced Settings from the menu.
8. From this screen there are numerous community binding settings for your headset or you can customize your own. Simply select one like “Playspace Mover” activate button to make one active. By the time you look at this there may be different top Community Bindings so a good idea is to select one that is discussing PlaySpace near the top.
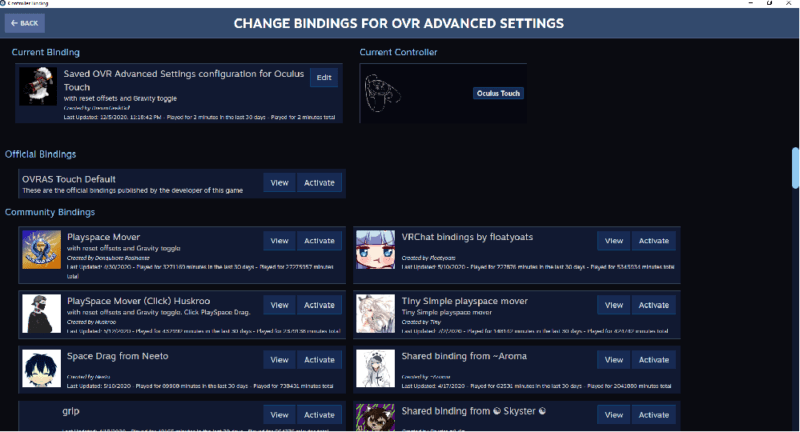
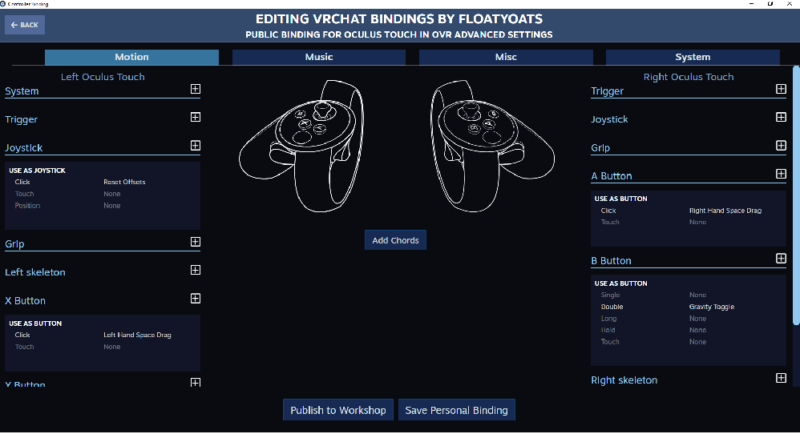
9. Click Edit on the Current Active Binding to see what is happening. You want to look for which button will activate “right hand space drag” Or “left hand space drag”. You also want to see what will “reset offsets” and “Gravity Toggle”. In this example clicking A will do Right Hand Space Drag and X will do Left Hand Space Drag. Pressing B twice will toggle gravity and Clicking the left joystick will Reset Offset.
Almost done….
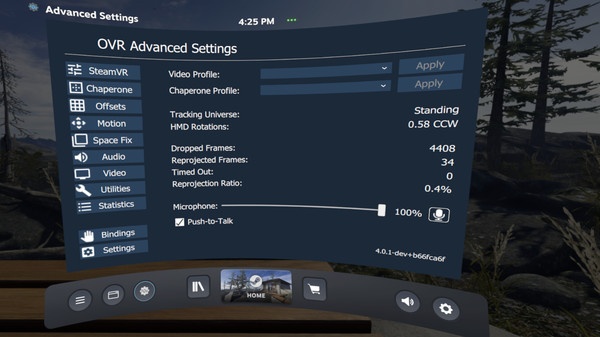
10. Go back into Steam VR in your headset. There will now be a new OVR advance setting gear at the bottom of the Steam VR menu. It is the 3rd button from the bottom-left in the screenshot. Click that.
11. Click on the Motion Menu.
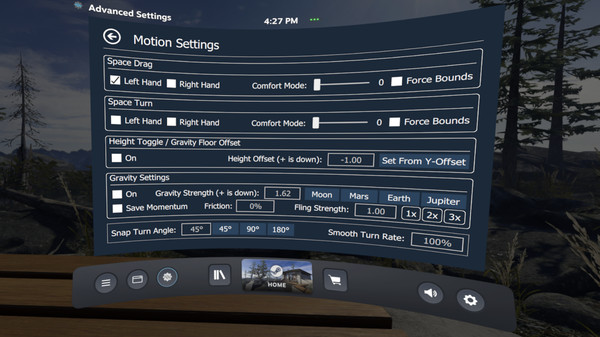
12. On the Motion page you want to put a checkmark in Space Drag for each hand you had it enabled on in your previous setting.
13. Exit out of all of this and launch VRChat in Steam.
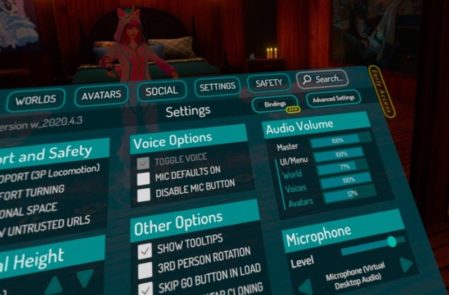
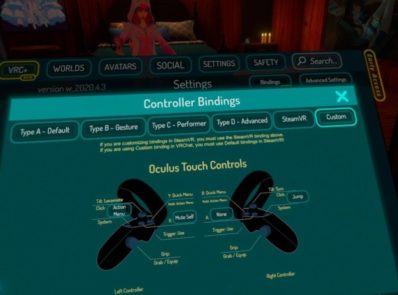
14. You may want to adjust some of the controller settings in VRChat settings. Select your menu and then bindings settings in the top right corner. I chose custom and removed jump from A and put it on pushing the right joystick instead. I also removed everything from the X key and set it to none. Your mileage may very.
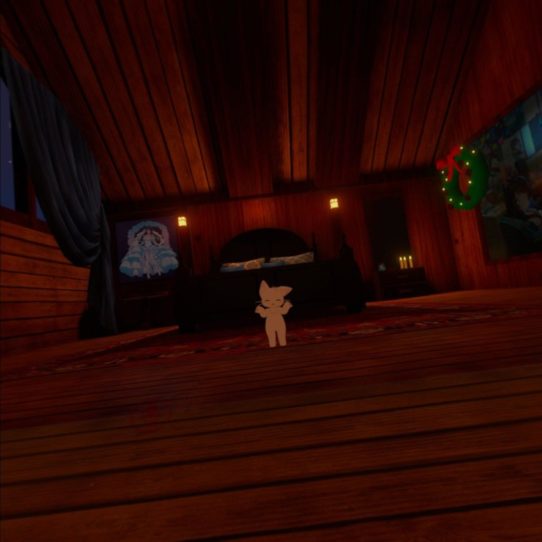
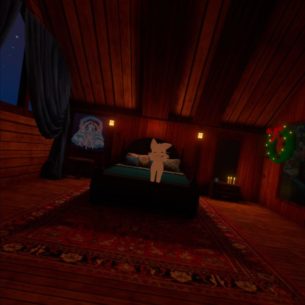
Now when you are in VRChat with OVR activated you can (based on the above settings) pull yourself up or down with the A button. Simply hold down A and make a climbing motion with the one Space Drag Hand. Put your arm up, Press A, pull down, let go A. Do this a few times and you should see your avatar move up in the world. If you climb down a few you will move to sitting position, and eventually prone. Press left joystick and you will reset to normal.
Again your settings might be slightly different based off the profile you choose. If you want to play around with any of the key bindings, you can go back into the OAVR settings above at anytime and do so.
Each time you start VRChat in Steam VR you will also need to make sure that OVR Advanced Settings is also running. You can do that from the SteamVR menu and check to see that the gear is in the bottom left and you are good to go! If not just chose it from your SteamVR library.
Also of note: there is a VR floor space resetting option available under the OVR advanced settings tab that you can access at any time from the SteamVR menu and by selecting Space Fix from the menu. This can help you if you want to play laying down or if your floor moves up. Nice bonus.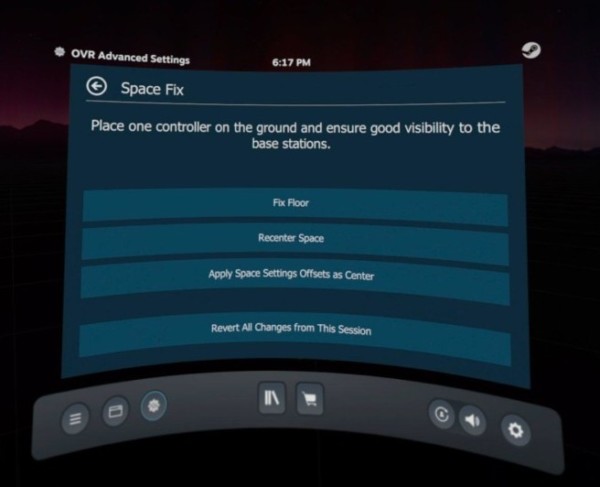
Final Thoughts On How to Install PlaySpace Mover
You have successfully installed Open VR Advanced Settings and Play Space Mover. You now have the ability to move your avatar up, down, lay down, fly, crouch, and go prone in VRChat (or any SteamVR game) via PC on your Oculus Quest 2! Enjoy!


Thank you. Works right away. Was looking for an up to date tutorial and this is it.
Only works with virtual desktop for me.
When using link cable the oculus software takes over everytime I launch Bigscreen or any other app.
Sounds like you might have Oculus Link automatically enabled? You only need to do one or the other. Wireless Desktop or Oculus Link. If it works wirelessly, that’s likely your best option 🙂
For some reason this won’t work for me. I don’t see the OVR option whenever I go into steam vr
so everytime i open it up it says thos application has crashed oncew and it is unable to open it, bt i have never owned the ovr applicatuion
how do you do this in BigScreen VR? it works in everything except big screen but I see people using playspace mover in Bigscreen.